Shared font tutorial
Shared font tutorial
Fonts in uniSWF are all bitmap based and have to be pre-rendered offline, by default a character set will be created with each swf so when working on a large project or handling large character sets can be an issue.
Step 1
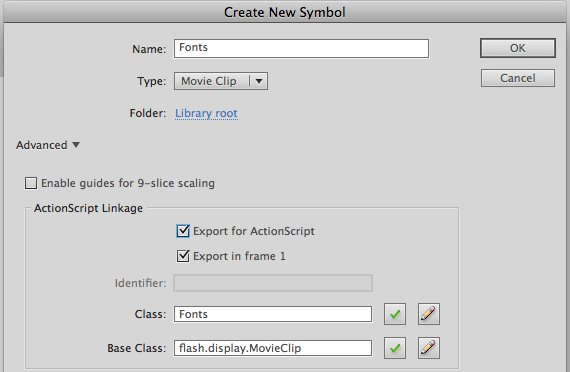
To create a shared font start by creating a new flash file called fonts_shared.fla inside the unity project Assets/ folder, and create a new MovieClip symbol called Fonts.
Step 2
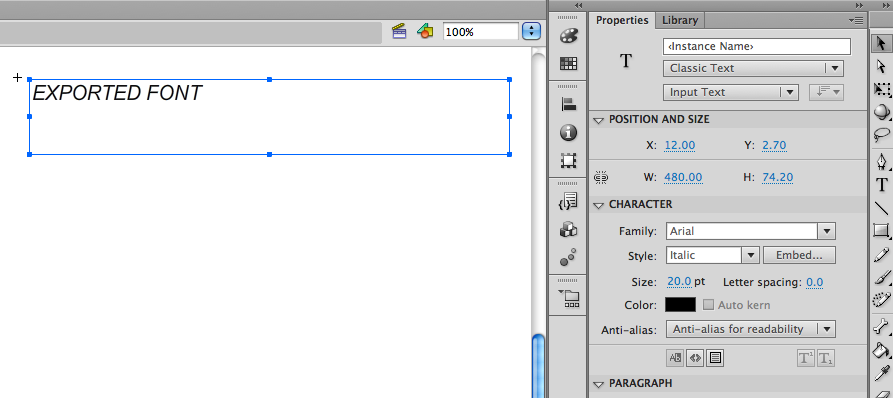
In the Fonts symbol create a new TextField for each font that you want to use in your project, a simple way to this is create your UI as normal and then paste the TextField's into the fonts_shared.fla asset. For this example set the font in the textfield to Arial and point size 12.
Step 3
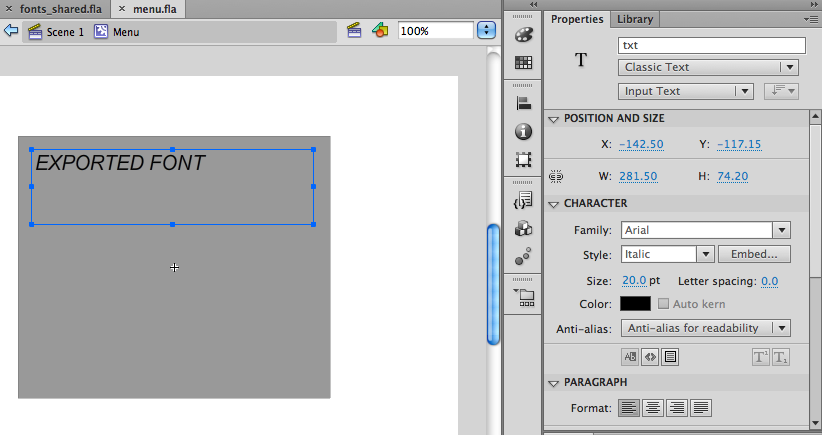
Create a new flash file call menu.fla inside the unity project Assets/ folder and create a new exported MovieClip symbol called Menu. In the Menu symbol add a new TextField with the same setting in the fonts_shared.fla, make this an input field and put some default text in there. Go File->publish to export swf files inside your unity in preparation for the next step.
The textfield font and size has to match the one in the shared font otherwise it wont display in Unity, to change the font size at runtime you will need to duplicate the TextField in the shared assets for every font size required.
Step 4
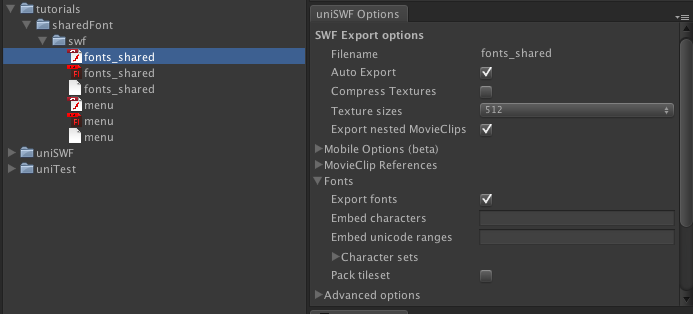
Open up Unity and select the font_shared.swf asset in the project then go Window->uniSWF->Export Options, expand the fonts section and ensure "Export fonts" is enabled. You may have to manually export if these setting have changed so click the Export button below, also don't forget to embed any fonts used.
Step 5
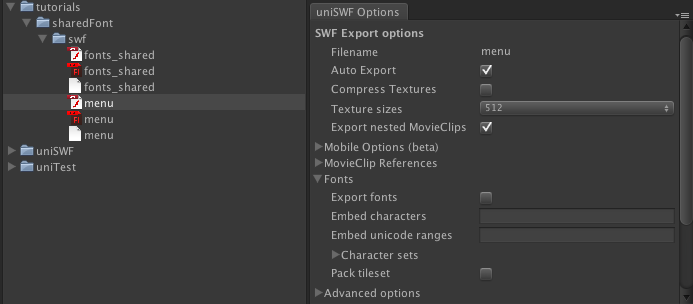
Now select the menu.swf in the project view and go Window->uniSWF->Export Options again, expand the font section like above but this time disable "Export fonts", this will create references to the fonts in the swf and not export any bitmap fonts. Press the Export button below to make these changes take effect.
Step 6
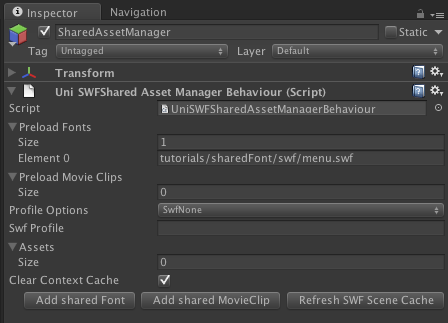
To enable movieclips to find the shared assets such as fonts you will need to create a Shared Asset Manager. Create a new unity GameObject and add the SharedAssetManager in the Components->uniSWF menu. Click on the "Add Shared Font" to add the shared font to the scene, now select the Fonts linkage in the fonts_shared.fla.
Step 7
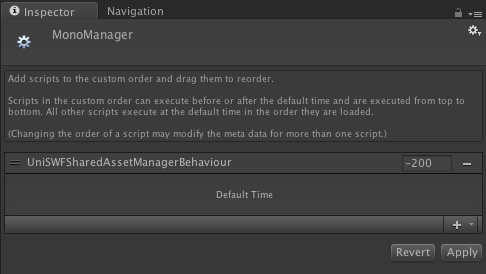
To make sure the shared fonts are loaded before any assets in the scene you will need to set the script execution order of the shared asset manager, to do this in the project view search for the "UniSWFSharedAssetManagerBehaviour" then go Edit->Project Settings->Script Execution Order, then drag the "UniSWFSharedAssetManagerBehaviour" above (to the top) the "Default Time" and any script you may have that use shared assets.
Step 8
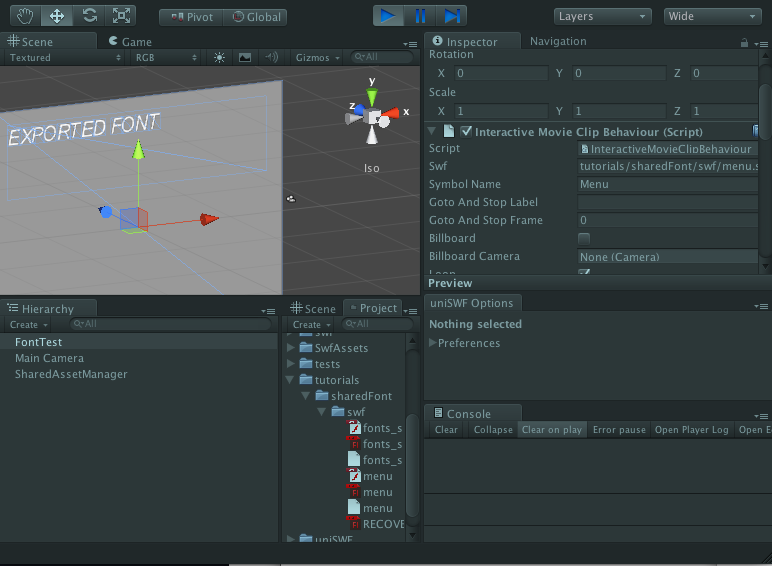
Now to test the shared font, so create a new game object with a InteractiveMovieClipBehaviour attached then change the movieclip to the Menu symbol in then menu.swf asset, make sure the object is visible to the camera and press play. With a bit of luck you should see the font and should be able to edit the text contents. If nothing shows up check the console for any warnings.
Just to note there is a bug with uniSWF 1.0.2 and below where the text color wont render correctly on a MovieClipBehaivour but does work fine on a MovieClipOverlayCameraBehaviour.